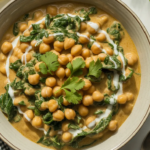
24 How to Make Chickpea Flour at Home in the US to Try!
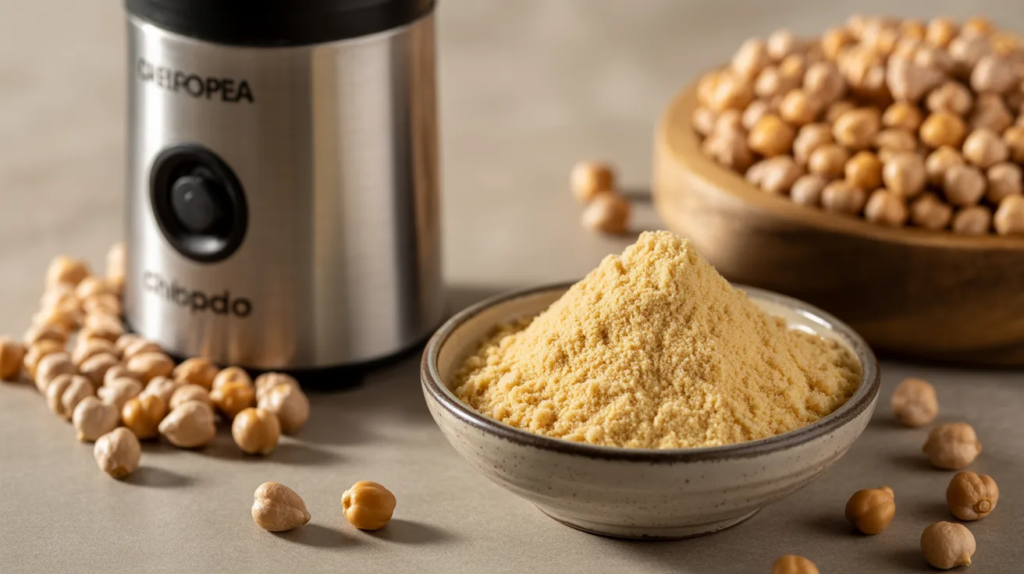
1) Basic Dry-Roast + Blend Method (No Soaking)
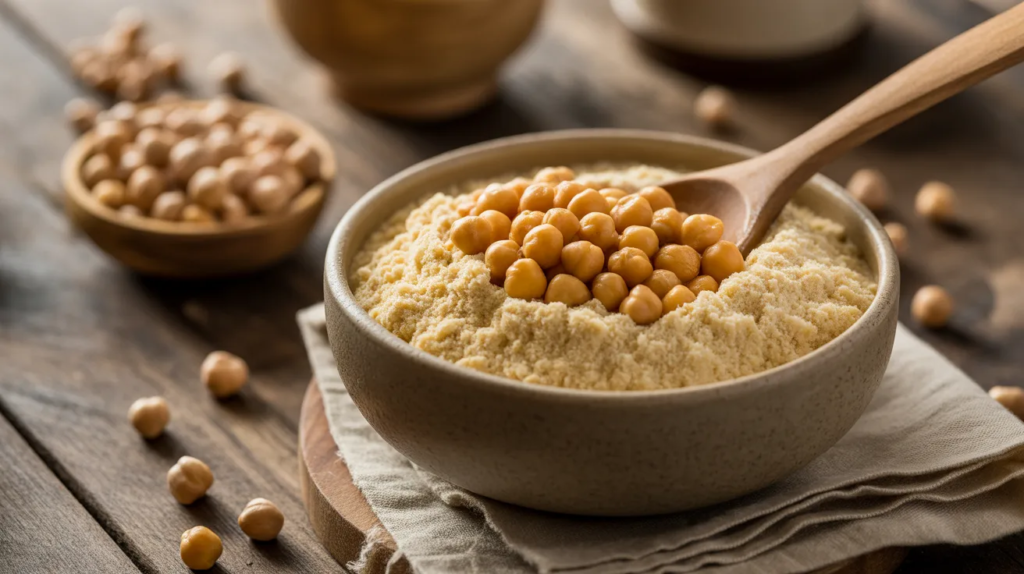
Making chickpea flour at home is surprisingly simple: roast dried chickpeas, cool them, then blend until powdery. Roasting first helps remove raw bean smell and gives a slightly nutty flavor that works great for pancakes, pakoras, or gluten-free baking. In the US, dried chickpeas are easy to find at Walmart, Target, Trader Joe’s, and any grocery store. This method is perfect if you want quick flour with good aroma.
After roasting, blend in short bursts so the blender doesn’t heat the flour. Let the dust settle before opening the lid, then sift to remove any gritty bits. Re-blend the larger pieces until fine. Store in an airtight jar away from moisture. If you want a super-smooth texture for cakes or crepes, use a fine mesh sieve twice. Label the jar with the date for freshness tracking.
2) Low-Heat Oven Drying for Extra Smooth Flour
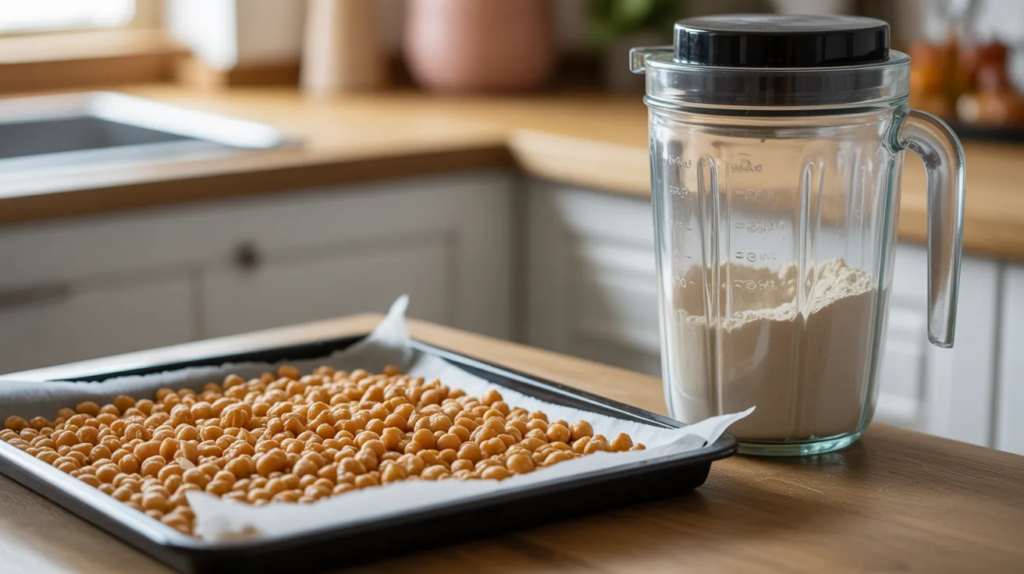
If you want ultra-fine flour, the secret is drying chickpeas gently before blending. Instead of roasting hot and fast, dry them at a lower temperature so they become brittle and grind more evenly. This gives you a smoother flour that works better for gluten-free cookies, muffins, and batters where you don’t want grit. It also helps the flour stay drier, which improves shelf life.
Spread dried chickpeas in a single layer on a tray and dry at low heat, stirring once or twice for even drying. Cool completely before grinding. Blend, sift, and repeat until you get a powder-like texture. This method takes a little longer, but it’s worth it for baking. Store in a sealed container and keep it away from steam (like near the stove).
3) Air-Fryer Toasting for Small Batches
Air fryers are perfect for making chickpea flour in quick, small batches. The circulating heat dries and toasts chickpeas evenly, which means they grind faster and smell less “raw.” If you only need a cup or two for socca, fritters, or a quick gluten-free recipe, this is an easy method without heating the whole kitchen. It’s especially handy in summer or small apartments.

Shake the basket a few times while toasting so chickpeas dry evenly. Let them cool fully—warm chickpeas can cause clumping when ground. Blend in pulses, then sift. Any larger pieces can be re-blended until smooth. Because air-fryer batches are smaller, you’ll often get a more consistent grind. Store in a small jar and use within a few weeks for the freshest taste.
4) High-Speed Blender “Pulse + Rest” Technique (Less Dust)
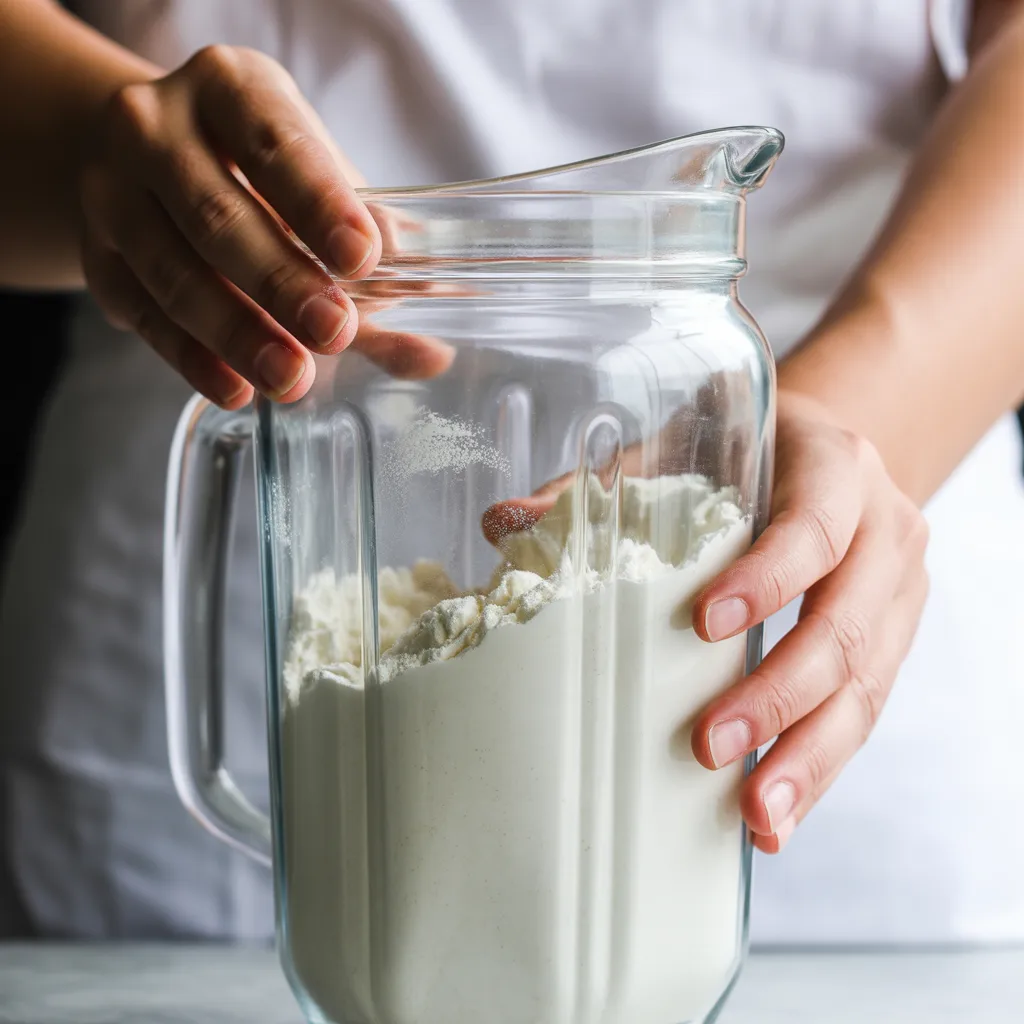
Chickpea flour can get dusty fast if you blend nonstop. The best trick is pulsing in short bursts and letting the flour settle before opening the lid. This keeps your kitchen cleaner and helps prevent the flour from warming up, which can affect flavor. High-speed blenders like Vitamix or Ninja can make a very fine flour if you use the right rhythm and don’t overload the jar.

Fill the blender only partway so chickpeas have space to move. Pulse, pause, then pulse again until powdery. Wait 30–60 seconds before opening the lid so the dust drops. Sift and re-blend any gritty pieces. For extra fine flour, blend again after sifting. This technique is great if you’re making flour regularly and want consistent results without a mess.
5) Coffee Grinder Method for Super Fine Small Amounts
If you only need a little chickpea flour—maybe for thickening soup, coating veggies, or a single recipe—a coffee grinder can give you an extra-fine texture. Because the grinding chamber is small, chickpeas break down evenly, and you get a powder that feels smoother than a big blender batch. It’s one of the easiest ways to make “bakery-level” fine flour at home.
Grind in small portions and shake the grinder gently between pulses for even milling. Let the dust settle before opening. Sift into a bowl and re-grind any larger bits. Make sure your grinder is clean and odor-free, or your flour can pick up coffee or spice smells. Store small batches in an airtight container and use quickly for best flavor.
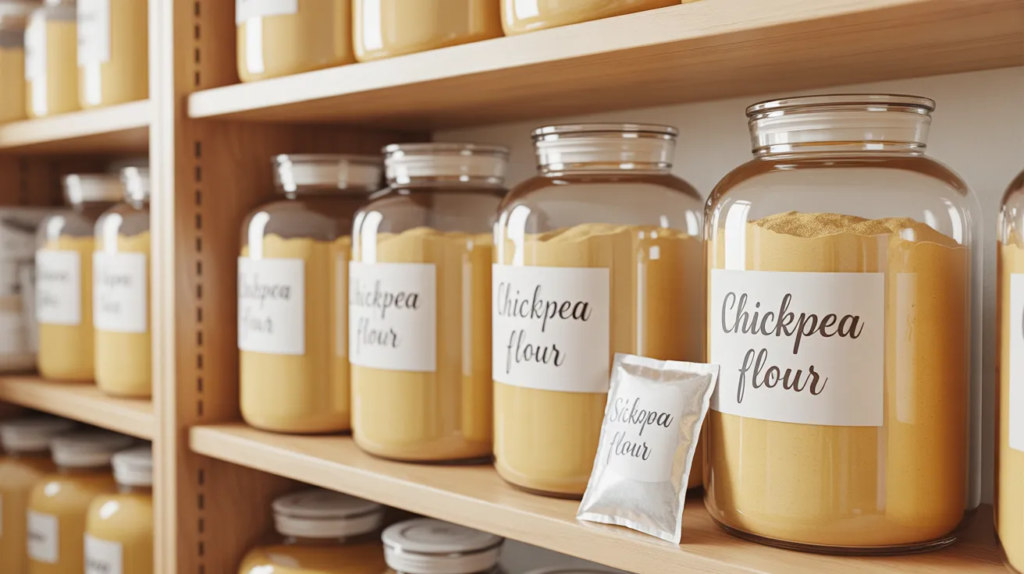
6) How to Choose Chickpeas in US Stores (Best Results)
Not all dried chickpeas grind the same. For the smoothest flour, choose chickpeas that look uniform in size and color, and avoid bags with lots of broken pieces or dusty debris. In the US, chickpeas are often labeled “garbanzo beans,” and you’ll find them in the dry beans aisle. Fresher chickpeas usually grind more cleanly and taste less stale after blending.
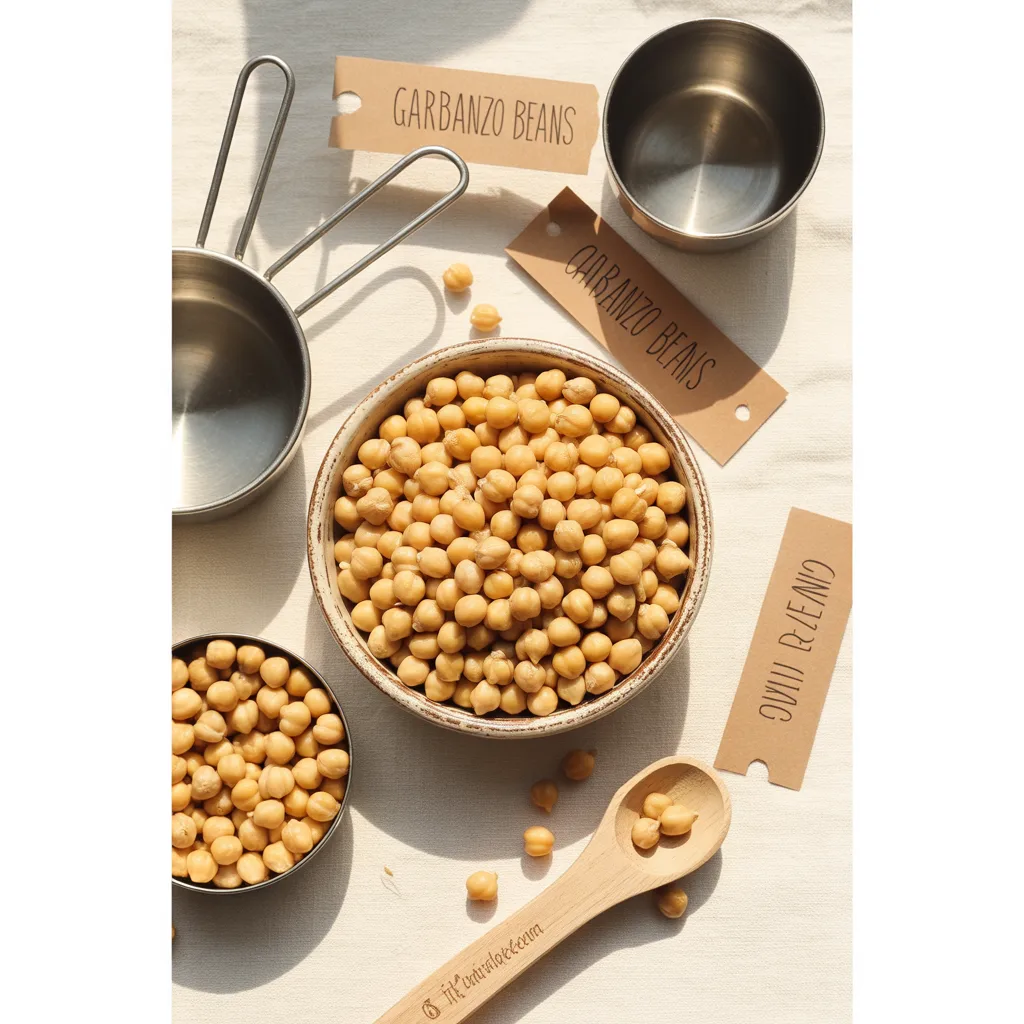
Check the “best by” date and pick a bag with minimal moisture signs. Larger chickpeas can still work, but may need longer drying for a fine powder. If you buy in bulk, store chickpeas in an airtight container before turning them into flour. Cleaner chickpeas mean less sifting later. Starting with good beans makes the flour taste fresher and helps your recipes come out more consistent.
7) Quick Cleaning Step: Rinse + Dry Completely
If your chickpeas look dusty or you’re using bulk beans, a quick rinse can remove debris before making flour. The key is drying them completely afterward—any leftover moisture can cause clumps and shorten shelf life. This step is optional for sealed store bags, but it’s a great habit when you want cleaner flour for baking and smooth batters. It’s also helpful if you’re sensitive to dusty pantry ingredients.
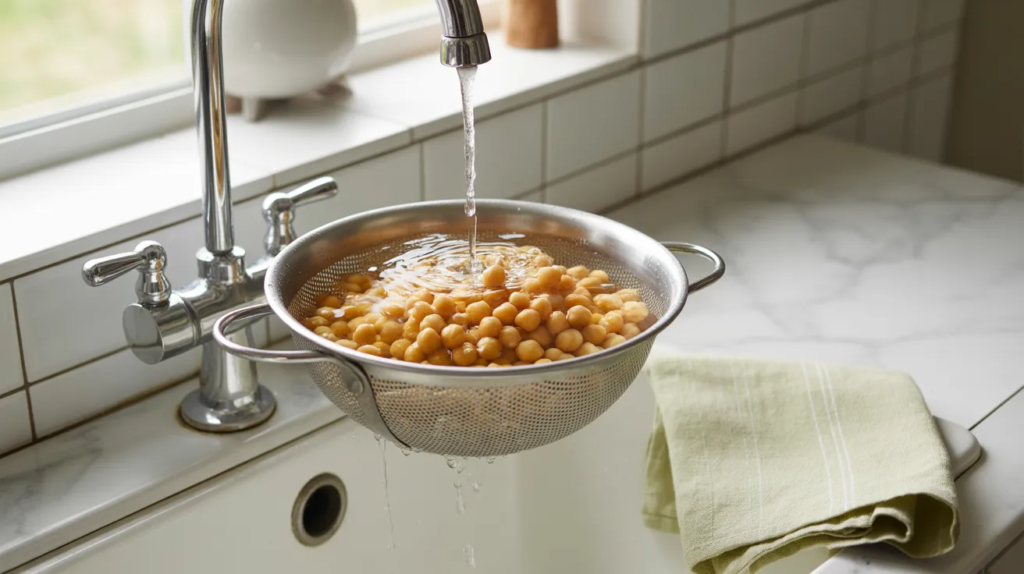
Rinse chickpeas in a colander, then spread them on towels and air-dry thoroughly. After that, use low-heat oven drying to remove hidden moisture before blending. Don’t rush this step—dry chickpeas grind finer and store better. Once dried, blend and sift as usual. This method adds time, but it can make a noticeable difference in texture and freshness.
8) Toasting vs. Untoasted Flour (Taste Difference Guide)
Chickpea flour can taste different depending on whether you toast the beans first. Toasted chickpea flour has a warmer, nuttier flavor and less raw bean aroma, making it great for savory recipes like socca, pakoras, or fritters. Untoasted flour is lighter in flavor and works well when you want chickpea flour to blend quietly into pancakes, muffins, or thickening soups.
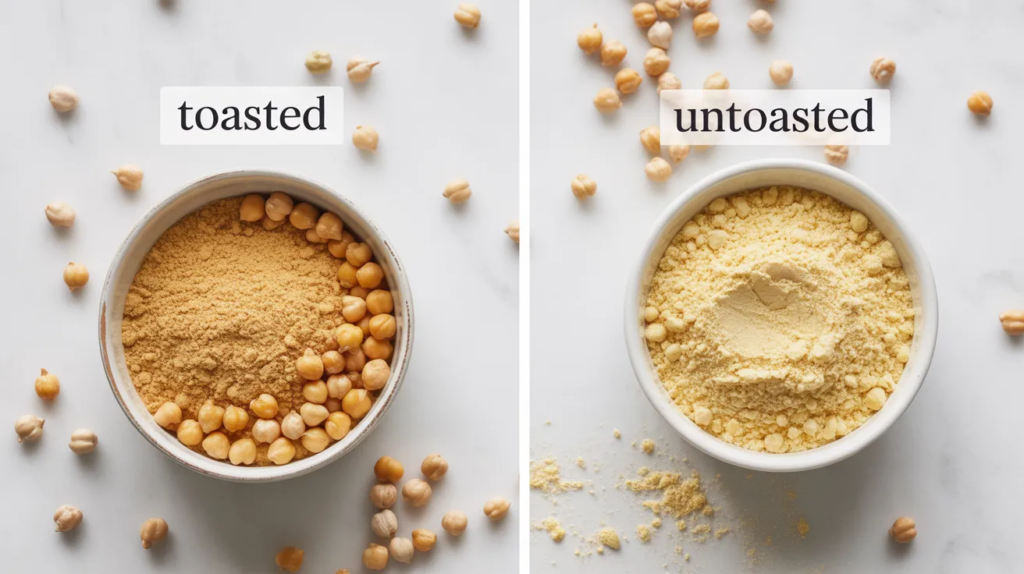
If you’re new to homemade chickpea flour, start with a light toast for the most versatile taste. You can always toast the flour later in a dry pan if you want a deeper flavor. For sweet baking, keep the toast mild to avoid a strong roasted note. Understanding the flavor difference helps you match the flour to your recipe and get better results from your homemade batches.
9) Getting Extra-Fine Flour: Sift Twice + Regrind
The biggest complaint with homemade chickpea flour is texture—sometimes it feels gritty. The fix is simple: sift, regrind, and sift again. This gives you a smoother flour that behaves more like store-bought besan. Extra-fine flour is especially important for crepes, cakes, and batters where graininess can show up after cooking. This method also helps your dough hydrate evenly.
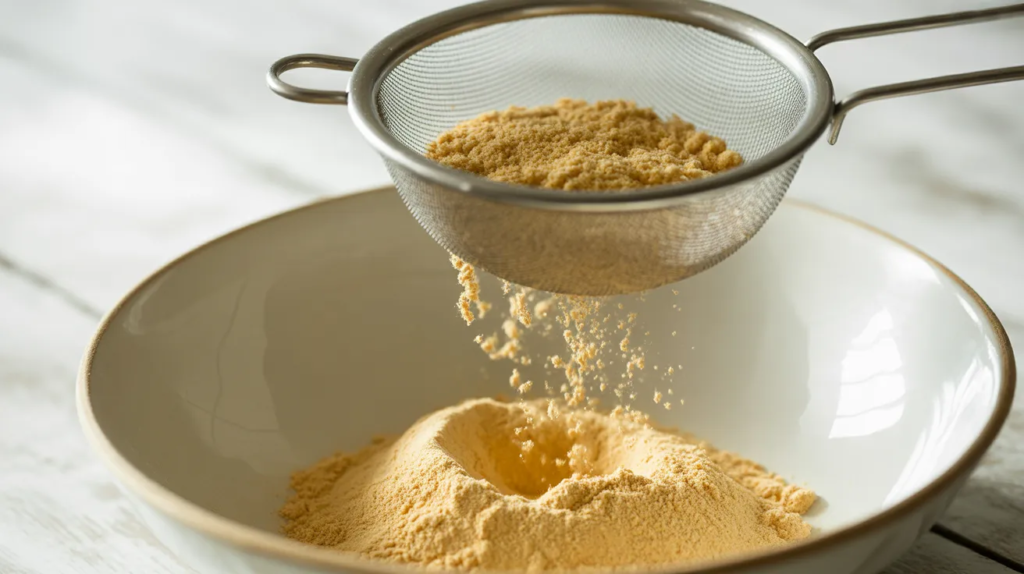
Blend the chickpeas into flour, then sift into a bowl. Put the coarse bits back into the blender and grind again. Repeat once more if you want a truly smooth result. If your blender heats up, pause so the flour stays cool and dry. This small extra step makes homemade chickpea flour feel “professional” and helps your final recipes cook more evenly.
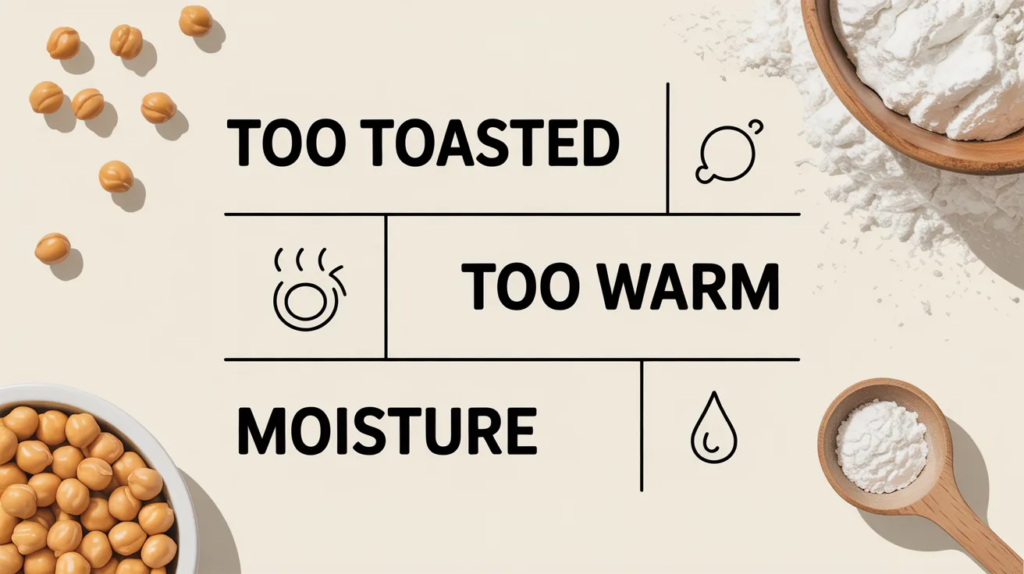
10) How to Prevent Clumping and Moisture Problems
Chickpea flour absorbs moisture easily, especially in humid kitchens. Clumps usually happen when flour is stored near steam (like above the stove) or put away while still warm. To keep it powdery, cool the flour fully after grinding, then store it in an airtight jar. In many US homes, pantry humidity changes with seasons, so smart storage matters for long-lasting freshness.
Use a dry spoon every time and avoid shaking flour over a hot pot. If you live in a humid area, keep the jar in a cooler cabinet or add a food-safe moisture absorber packet. Never store flour in a warm cabinet right after cooking. If clumps happen, sift before use. Proper storage keeps your flour smooth and prevents smells from developing over time.
11) Storage Time: Pantry vs. Freezer (What Works Best)
Homemade chickpea flour is freshest in the first few weeks, but you can extend its life with freezer storage. Pantry storage works if your kitchen is cool and dry, but the flour can develop a stronger bean smell over time. Freezing helps preserve flavor and keeps oils in the chickpeas from turning stale. This is especially helpful if you make large batches to save money.
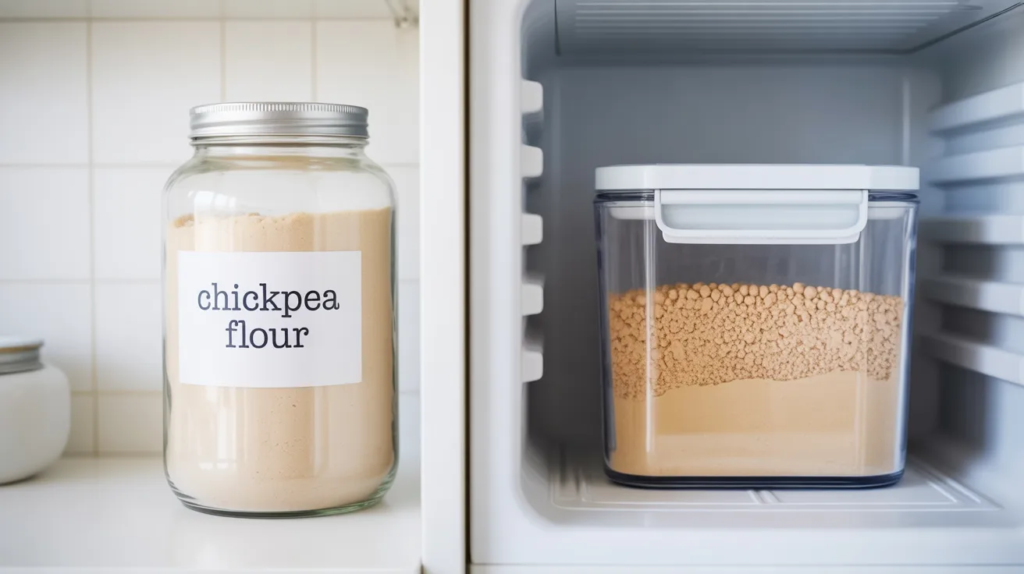
For pantry storage, aim to use it within 4–6 weeks for best taste. For freezer storage, keep flour in an airtight container and label it with the date. Let it come to room temperature before opening to avoid condensation. If you notice a bitter or “old nut” smell, it’s time to replace it. Fresh chickpea flour tastes cleaner and makes your recipes better.
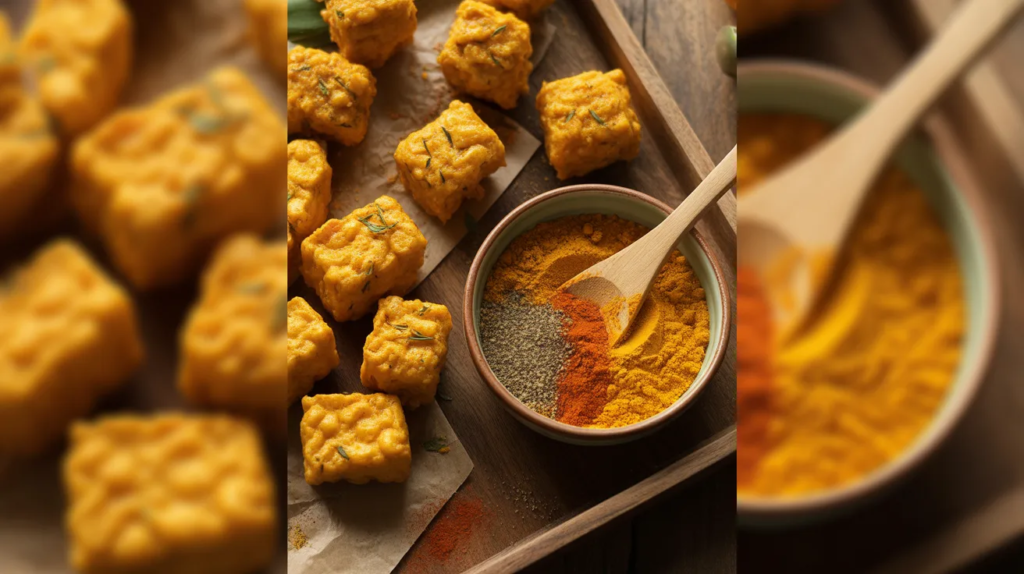
12) Making Besan-Style Flour for Indian/Pakistani Recipes
If you want flour similar to besan, lightly toast the chickpeas (or even the flour afterward) for that familiar nutty aroma used in pakoras, kadhi, and chillas. Many store-bought besan flours have a slightly roasted note that homemade versions can match with gentle toasting. This is a great way to make homemade flour taste “traditional,” even when you’re using US grocery chickpeas.
You can toast chickpeas before grinding, or toast the finished flour in a dry pan over low heat for a few minutes. Stir constantly and stop as soon as it smells nutty—don’t let it darken too much. Cool completely before storing. This step improves flavor and reduces raw smell. It’s perfect for savory batters and gives your recipes a deeper, more authentic taste.
13) Saving Money: Bulk Chickpeas vs. Store-Bought Flour
Making chickpea flour at home can be cheaper, especially if you buy chickpeas in bulk. Store-bought chickpea flour can cost more per ounce, and some brands vary in freshness. Homemade flour lets you control taste and texture while using a pantry staple you might already have. In the US, bulk chickpeas from warehouse stores or ethnic markets often give the best value for frequent cooking.

To maximize savings, make a larger batch and freeze part of it. That way, you get the convenience of store-bought flour with the cost benefit of bulk beans. Keep notes on how much flour you get from a cup of dried chickpeas so you can plan recipes easily. Over time, homemade flour becomes a practical kitchen habit that saves money and reduces last-minute grocery runs.
14) Flavor Upgrade: Add a Tiny Toasted Hazelnut Note (Optional)
If you like a deeper flavor, you can toast chickpeas a bit longer for a richer aroma. Think of it like toasting nuts: the flavor becomes warmer and more complex. This doesn’t make the flour taste like hazelnuts, but it adds a roasted note that feels richer in savory recipes. It’s a small tweak that makes homemade flour taste more “finished,” especially when used in pancakes or flatbreads.
Keep the toast gentle—deep browning can make flour taste bitter. Stir chickpeas during roasting so they toast evenly, then cool completely before blending. Taste-test your flour in a small batter first to check intensity. This method is best for savory dishes like socca, fritters, or coating tofu and veggies. It adds depth without adding extra ingredients or any butter.
15) Best Uses for Homemade Chickpea Flour (Fast Idea List)
Once you make chickpea flour, you’ll want to use it everywhere. It’s great for crispy coatings, savory pancakes, quick flatbreads, and thickening soups without gluten. Homemade flour has a fresh taste that really shows in simple recipes like socca or chillas. It’s also a pantry-friendly ingredient if you’re cooking on a budget or want more protein in everyday meals.
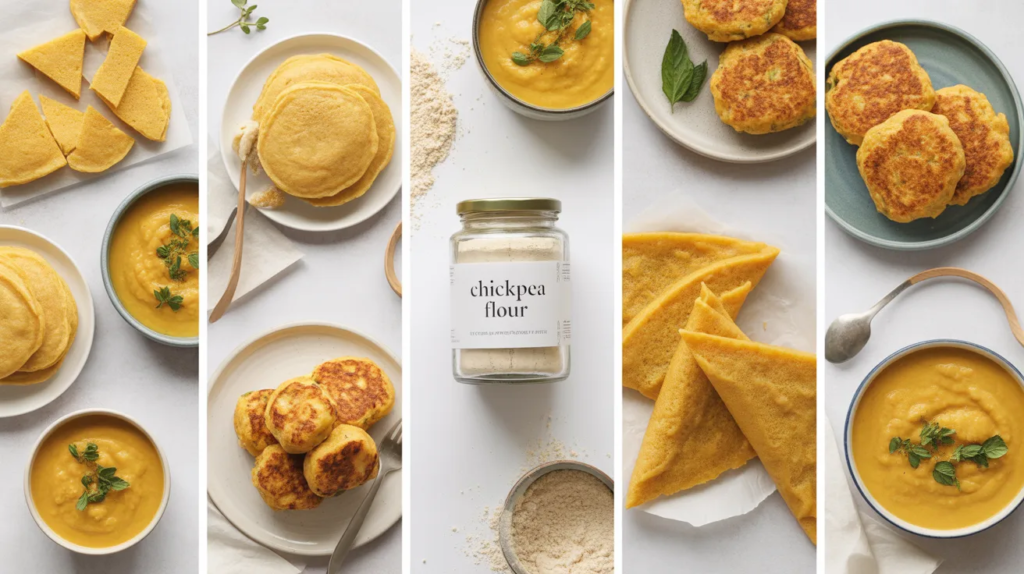
Try it in veggie fritters, pakora-style batters, gluten-free wraps, or as an egg substitute in vegan cooking. For sweet baking, mix it with other flours to keep the flavor balanced. If your flour is slightly coarse, use it in batters where texture doesn’t matter as much. Keeping a jar ready means you can make quick meals without running to the store.
16) Fixing Gritty Flour: The “Blend, Shake, Blend” Trick
Sometimes flour turns gritty because chickpeas sit at the bottom and don’t circulate well in the blender. A simple trick is to stop, shake or stir the jar, then blend again. This redistributes the pieces and helps you get a finer grind. It’s especially useful in smaller blenders where ingredients can get stuck. With a couple of pauses, your flour becomes much smoother without extra tools.
Blend in short pulses, then tap the jar to loosen stuck bits. If your blender allows it, use a tamper or stir carefully with a dry utensil when powered off. Sift, regrind, and repeat once. The improvement is usually immediate. This method also reduces overheating, which keeps flour dry. The goal is a soft powder texture that looks consistent and feels smooth between your fingers.
17) Safe Handling: Don’t Eat Raw Flour + Heat-Treat Option
Even homemade flour should be handled safely. Avoid tasting raw chickpea flour straight from the jar, especially if you’re using it for edible dough or no-bake recipes. Heat-treating your flour is a simple extra step that makes it safer for recipes where the flour won’t be fully cooked. It also helps reduce any raw aroma, making the flour taste cleaner in sweet or no-bake mixes.

To heat-treat, spread the finished flour on a baking tray and warm it at low heat for a short time, stirring once for even heating. Cool completely before storing. Keep the flour dry and sealed after heat-treating to prevent moisture pickup. For most cooked recipes (socca, pancakes, fritters), normal flour is fine—just remember it’s meant to be cooked for best taste and safety.
18) Homemade Chickpea Flour for Socca (Crispy Flatbread Starter)
Socca is one of the most satisfying ways to use homemade chickpea flour. It’s a crispy-edged, soft-centered flatbread that tastes amazing with olive oil, herbs, and flaky salt. Because socca is simple, you’ll notice the freshness of homemade flour right away—especially if you lightly toasted your chickpeas before grinding. It’s a perfect “first recipe” after making your flour at home.
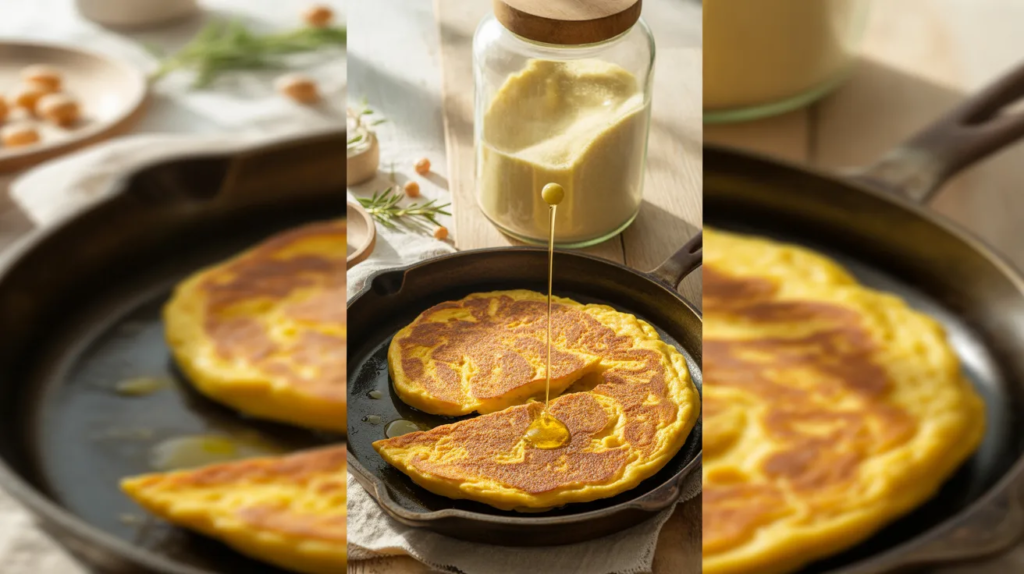
Whisk chickpea flour with water, salt, and olive oil, then let it rest 20–30 minutes to hydrate. Pour into a hot oiled pan and bake until golden and crisp. Top with rosemary, cracked pepper, or caramelized onions. This idea helps you test your flour’s texture, too—if it’s a little coarse, socca still turns out delicious. It’s quick, affordable, and very Pinterest-friendly.
19) Homemade Chickpea Flour for Crispy Coating (Chicken/Tofu/Veggies)
Chickpea flour makes an amazing crispy coating without breadcrumbs. It browns beautifully and holds spices well, making it perfect for tofu, chicken strips, cauliflower bites, or zucchini fries. Homemade flour works great here because a tiny bit of texture actually helps the coating cling. If your flour isn’t ultra-fine, this is one of the best ways to use it while still getting delicious, crunchy results.
Mix chickpea flour with salt, paprika, garlic powder, and black pepper, then coat your protein or veggies. For extra crunch, dip into a wet batter first, then coat again. Bake or air-fry until crisp and golden. This method is fast, budget-friendly, and a great way to use up homemade flour quickly. It also makes meal prep easy—keep a spice-mix jar ready for weeknights.
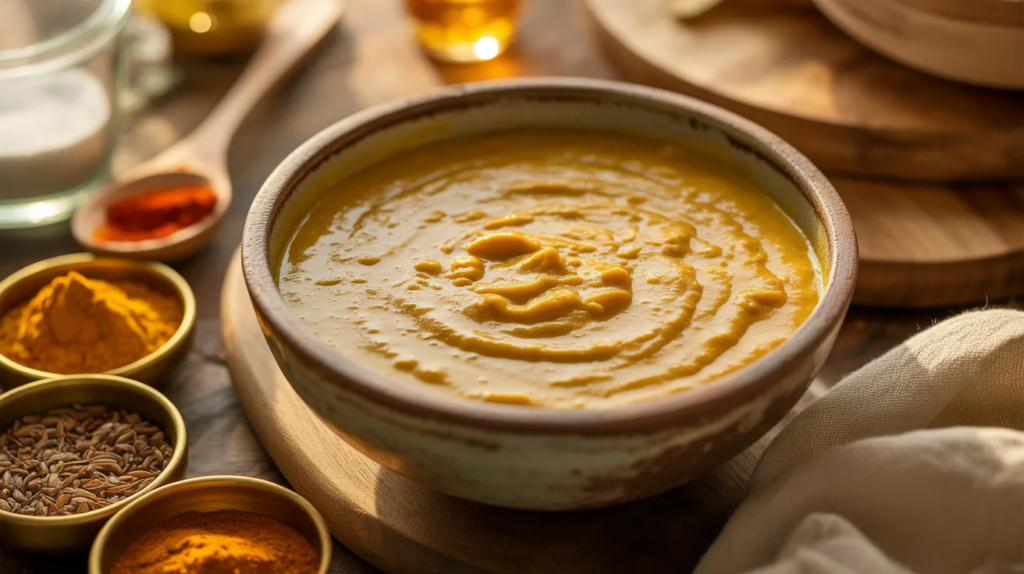
20) Homemade Chickpea Flour for Thickening Soups and Curries
Chickpea flour is a simple thickener that adds body plus a little protein. It’s perfect for soups, stews, and curries where you want a silky texture without cream. Homemade flour works especially well if you toast it lightly, because that nutty flavor blends beautifully into savory dishes. This is also a great use if your flour is slightly coarse—once cooked into liquid, the texture smooths out nicely.
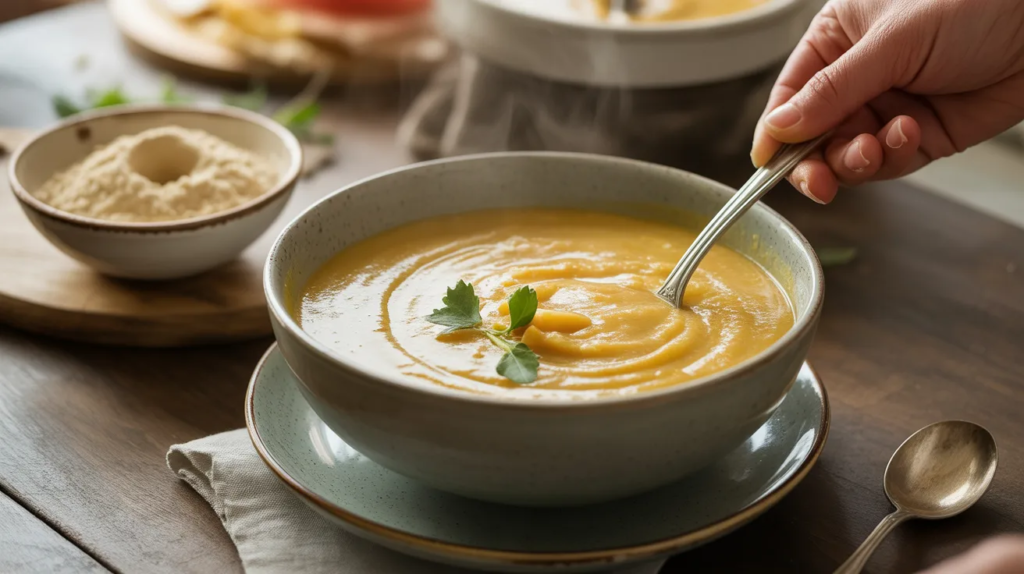
Make a quick slurry by mixing chickpea flour with cool water, then stir it into simmering soup. Cook for a few minutes to remove any raw taste and let it thicken. You can also toast the flour in oil with spices first, then add broth for deeper flavor. This technique is common in many cuisines and makes home cooking feel richer without using butter or dairy.
21) Kid-Friendly Use: Chickpea Flour Pancakes (Sweet or Savory)
Chickpea flour pancakes are quick, filling, and easy to customize. You can make them sweet with vanilla and cinnamon, or savory with herbs and cheese. Homemade chickpea flour works well here because pancakes cook fully, which removes any raw note and leaves a pleasant nutty flavor. It’s a great way to introduce chickpea flour to your routine without making anything complicated.
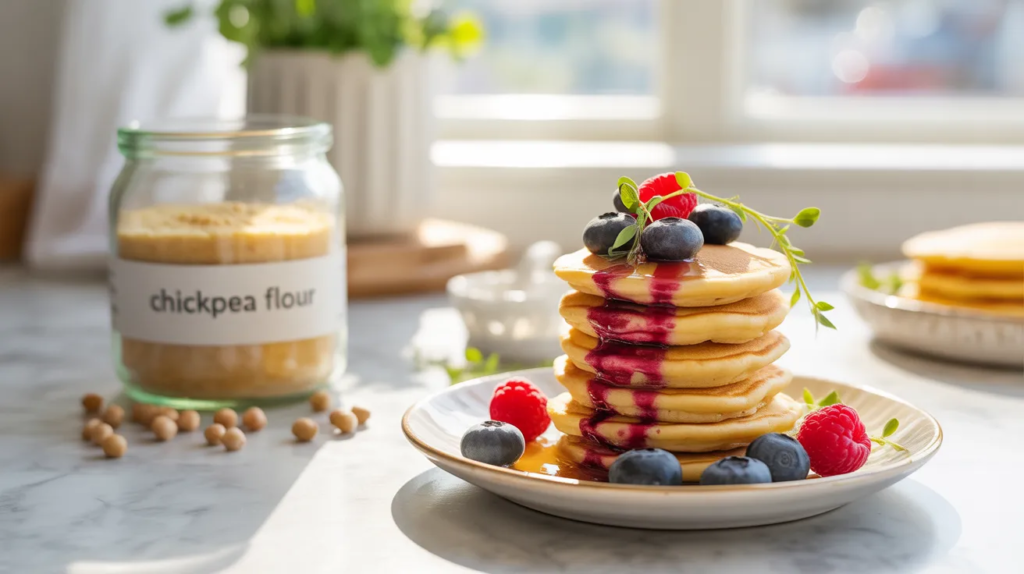
Whisk chickpea flour with water or milk, a pinch of salt, and baking powder for fluffiness. Add egg if you want, or keep it vegan. Let the batter rest for 10 minutes, then cook like regular pancakes. Top sweet versions with honey and fruit, or savory ones with avocado and chili flakes. This is also a smart way to use up flour quickly so it stays fresh.
22) Troubleshooting Guide: Bitter Taste, Smell, or Dark Flour
If your flour tastes bitter or smells harsh, it’s usually from over-toasting or overheating during blending. Chickpeas can go from “nutty” to “burnt” quickly, so gentle heat is best. Another cause is old chickpeas that sat too long in a humid pantry. The good news is most issues are easy to fix once you know the signs, and your next batch will turn out better.
If flour is too dark, reduce roasting time and temperature. If it smells raw, toast lightly next time or toast the flour in a pan before using. If it clumps, it likely absorbs moisture—store in a tighter jar and cool fully before sealing. For gritty flour, sift and regrind. A few small adjustments can make homemade chickpea flour taste just like the best store-bought versions.
23) DIY “Chickpea Flour Blend” for Baking (Better Texture)
Chickpea flour is powerful, but for baking it often works best blended with other flours. A simple DIY blend can give you better texture in muffins, cookies, and cakes—especially if your homemade flour is slightly rustic. This is a common trick in gluten-free baking: combine different flours so you get structure, softness, and a balanced flavor. It makes homemade chickpea flour more versatile.

Try mixing chickpea flour with oat flour or rice flour for a lighter crumb. Use it as 20–40% of your flour mix, depending on the recipe. Add a little starch (like cornstarch or tapioca) for tenderness if needed. This helps avoid dense results and keeps flavor mild. Once you find a blend you like, store it in a jar so your baking becomes quick and consistent.
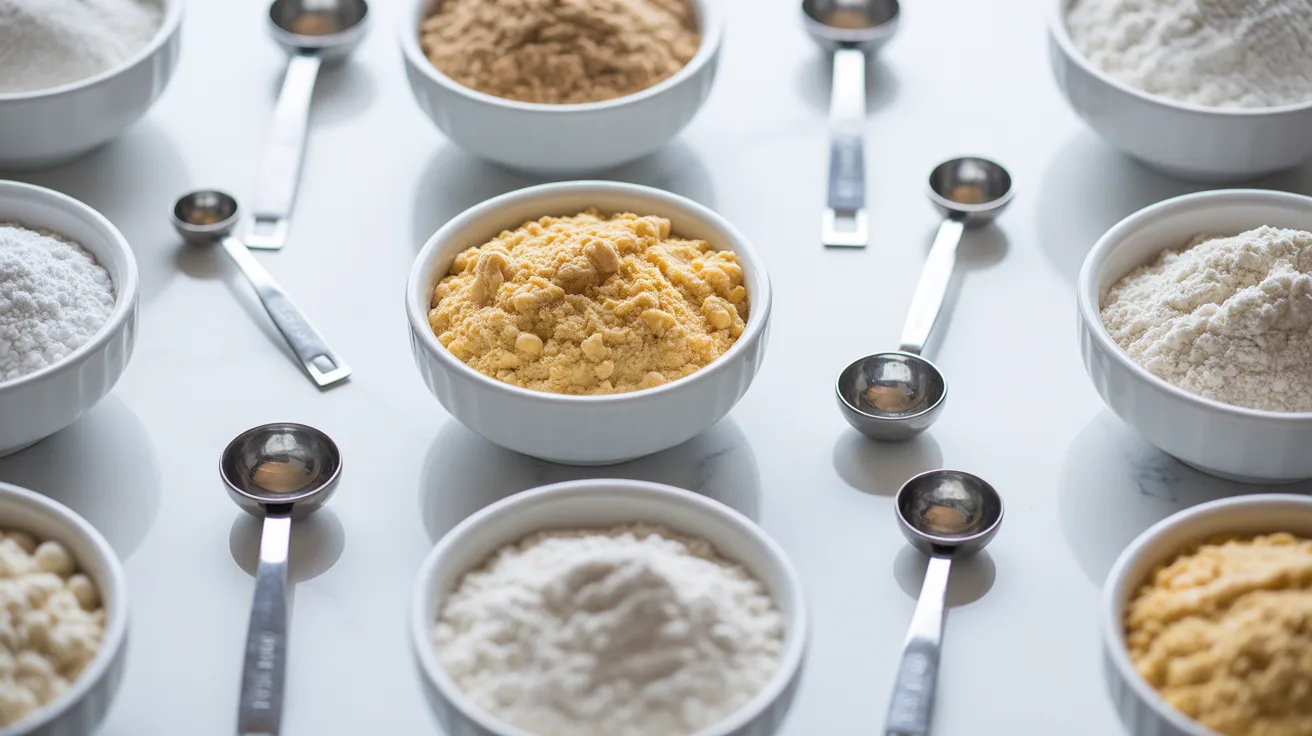
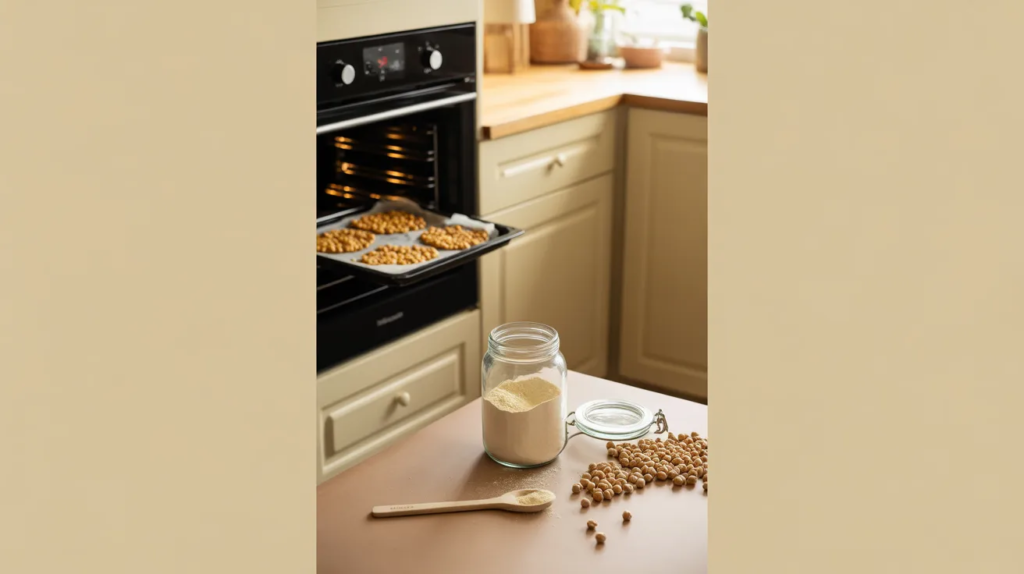
24) Printable-Style Checklist: Tools You Need + Quick Steps
Having a quick checklist makes homemade chickpea flour feel effortless. You only need dried chickpeas, a baking tray, blender or grinder, a sieve, and an airtight jar. The steps are simple: dry or lightly toast, cool, blend, sift, and store. Once you do it once, you’ll remember the rhythm, and it becomes a regular pantry habit—especially if you cook gluten-free or love savory batters.
Quick steps: spread chickpeas on a tray, dry/toast gently, cool completely, blend in pulses, sift, regrind coarse bits, then store airtight. Label the jar with the date. Keep it away from moisture and heat for the best flavor. This checklist format is perfect for Pinterest readers because it’s easy to save, easy to follow, and easy to repeat whenever you run out.